First, yeah, just photos of the back skirt i actually forgot to took wip photos.
I use an MG GP03, thanks to Honeymic for the kit. Just random slapping some loose detail part on it. Might not use in the end as it looks kinda lack of planning n design....
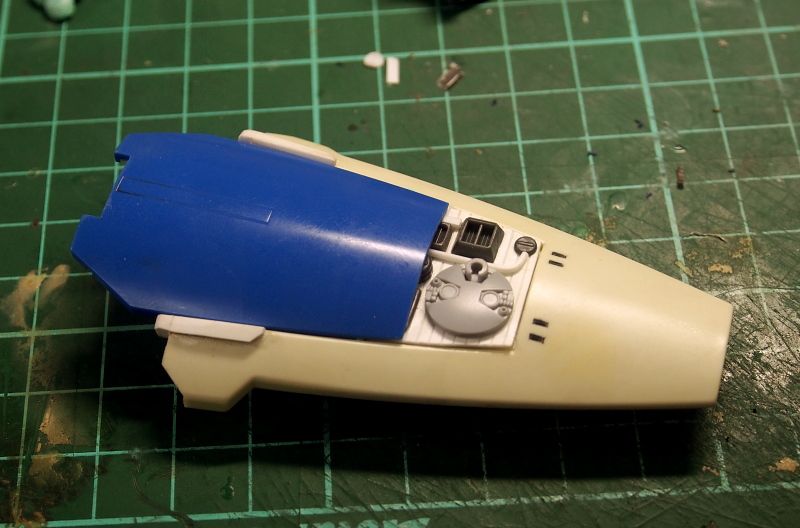
The inner part, just put some random parts and make a base for some extra thruster.....
The connector at the top is used to connect it to the main body.

****************************************************************************************************************
Arm.
.
..
.....
..........
No idea. Overall, i think the upper arm is kinda bulky n short, while the forearm i would prefer it to be much bigger.
However, i am pretty happy with the overall length. As a result, touching one part will result in some heavy, too-much-to-do modification onto the entire arm.
So, a honest note, i kinda have some idea how the outloook should be but too lazy. Unless i manage to find an easy way to do it. Else, this will pretty much be the final appearance.... hohohohoho

Change the palm with Yellow Submarine manupulator.
Two reasons for me in doing this:
1) I want a nice holding posture
2) After playing with it too much, the fingers started falling off.
3) I have this new product which is epoxy putty in cream form. Eager to try it out.
As a result. FIXED POSE!!!!!

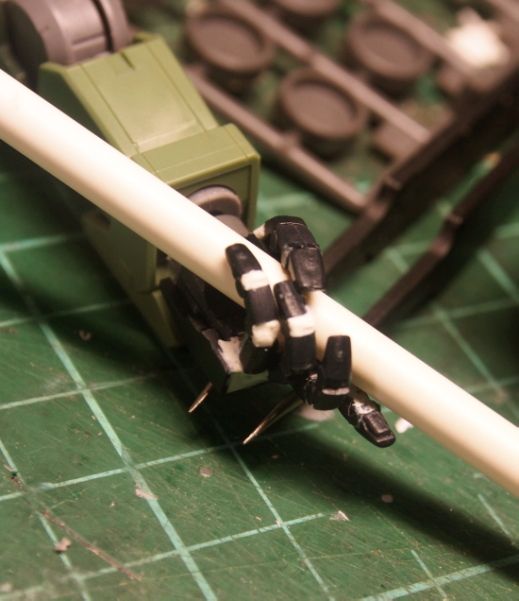
Talk about consistency..... Right hand, i started working on Bandai's manupulator. Am i really that lazy? because the fixed fingers are very durable.
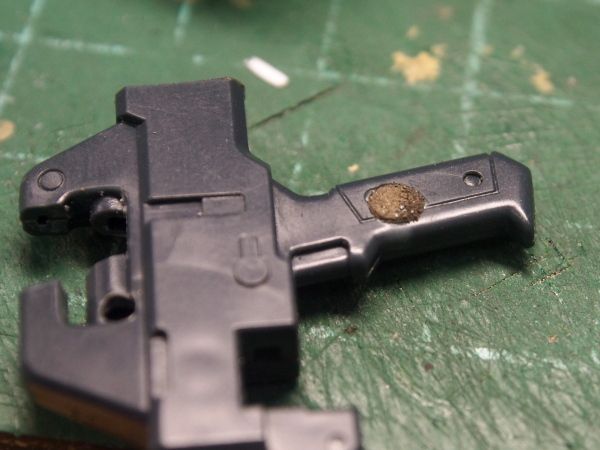
Added a piece of magnet to help hold the gun.
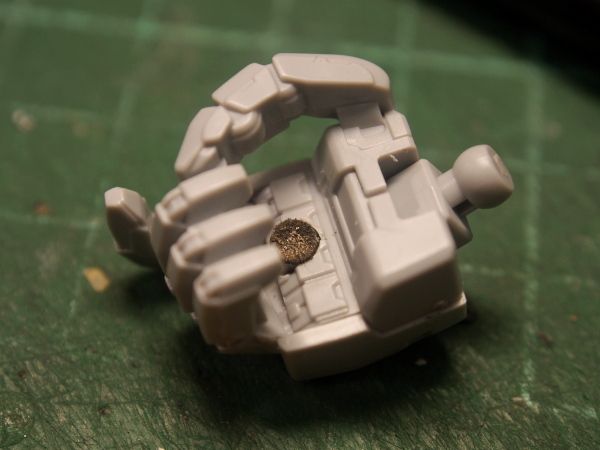
Another on on the gun..... Until this point of time, I suddenly realize, i forgot to take pictures of the hand gun!!! which is my right hand's weapon.... OMG.................
************************************************************************************
Next, Backpack!
If i remember correctly, this is a kotobukiya weapon set. Some claw thingy.... dont care, just use the middle part.
Saw off whatever is in the way!
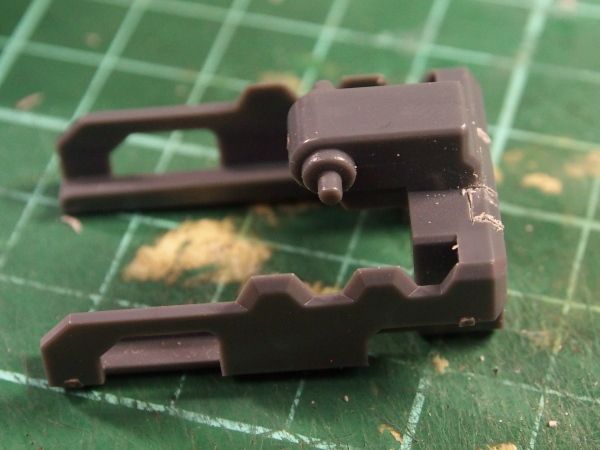
With the help of copper tube, hold it onto the back. Taadah! Done! Fast n easy. Next will need to crack my head on what to put on it....
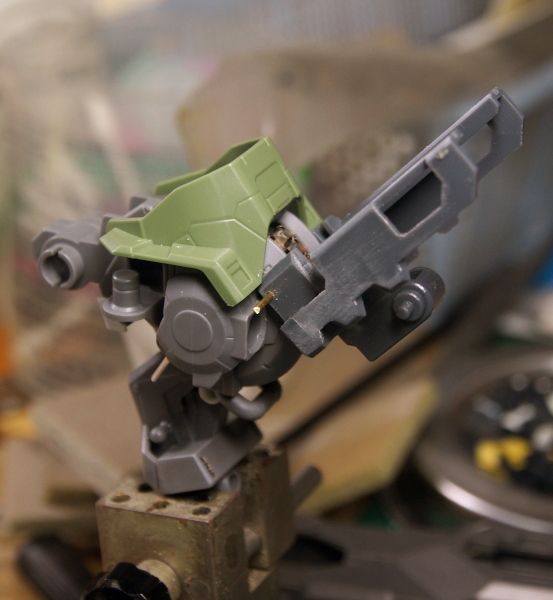
This is supposed to be the "backbone", which i got this idea of using aftermarket metal gattling gun chain ammo (Snake chain actually :p) from Kriz Cook, thanks bro!
However, the result here is not as significant as his. But still, will put it there as it still looks better than the original yellow part.... :p
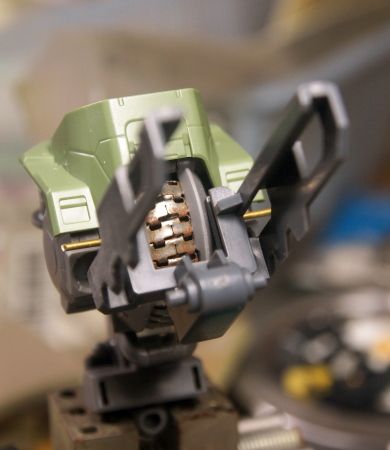
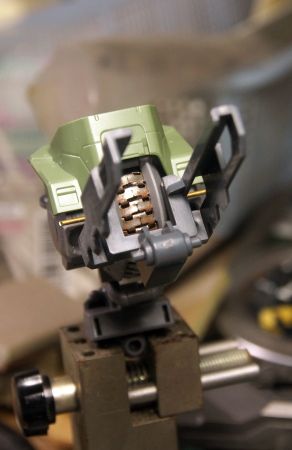 Another Koto part, a long rifle thingy for armor core. drill square hole, put a female peg in it.
Again, white color creamyepoxy putty to secure it!

left side, some unknown cylinder shape parts. Parts are from Bandai GBF
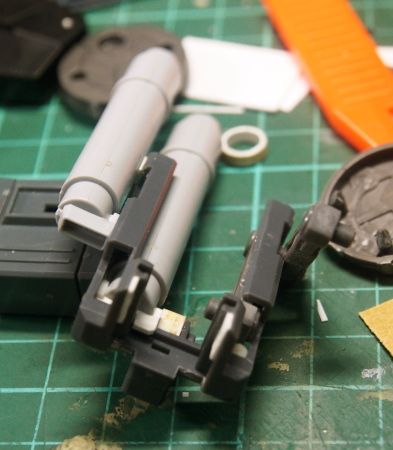
Voila!!!!!
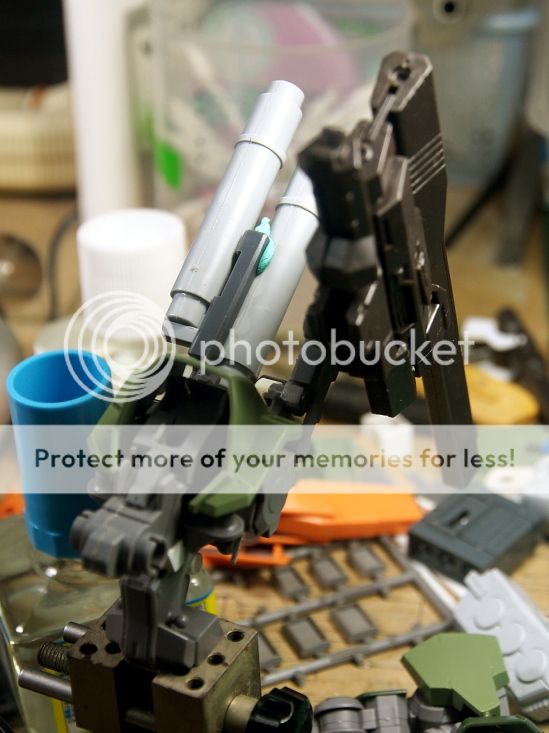
so much for now..... more photos coming.
YES, chinese new year is a very good time to speed up progress. My target s to finish up basic structure before March....

No comments:
Post a Comment